The Goodness Of Gardening
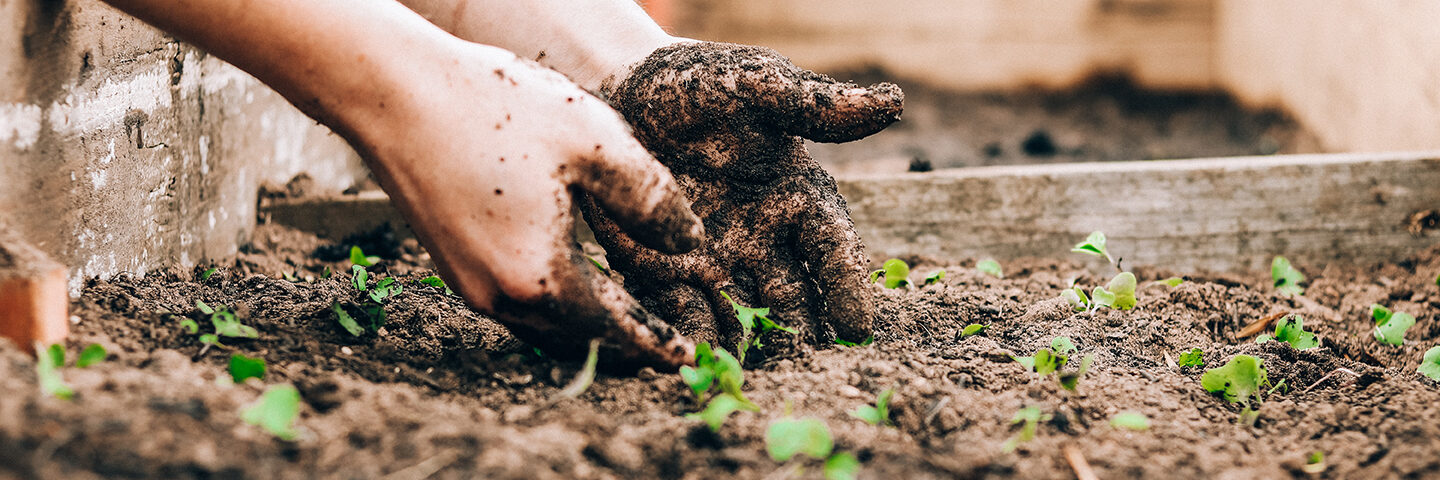
There is something about getting your hands in the dirt and starting a garden that brings so much happiness and satisfaction. From planting that initial seed or starter plant and caring for it day after day – the joy of watching green sprouts and flowers blooming to those flowers becoming beautiful produce to enjoy is truly unmatchable and a labor of love. If you’ve never dabbled in vegetable (or fruit!) gardening, here are tips to get started so you can bring a bit of home-grown happiness to your homestead.
Since certain locations, like here in New England, have the risk of frost until the beginning of May, it’s important not to rush into planting just any vegetable outside. Cool weather crops, like lettuce, onions, carrots, broccoli and cabbage, can tolerate short periods of frost and for certain vegetables like kale, frost can actually make them taste sweeter! These are safe to plant directly outside now that the soil is warm enough to work with.
For intermediate and warm weather crops, like beans, corn, cucumber, squash, eggplant, peppers and tomatoes, seeds can be started indoors now – so when risk of frost has passed, they can be safely transplanted outdoors. Simply take any small container (such as small cups with holes poked at the bottom for drainage or plastic starter containers) and fill with soil. When I purchase outdoor flowers for planting, I always save the plastic containers they come in for this use. You can find planting soil and a large variety of seeds in many grocery stores, making it a one stop shop if you’re already out buying groceries.
When ready to plant, fill your containers or cups with soil and plant one seed per container (you can plant more if using larger containers) so it has adequate room to grow. Read each seed package so you know the proper depth to plant and be sure to label what’s in each container! Cover with plastic wrap and poke a few holes to allow air flow, storing in a warm location away from cool drafts. Keep the soil moist and when watering, take care to do so gently so you don’t disturb the fragile roots being formed.
Once the plants sprout through the soil, remove the plastic covering and move to a bright and sunny location. Continue to water the plants as needed, keeping them damp but not soaked.
As risk for frost passes, your seedlings are now ready to be moved outdoors. Most experts suggest doing so gradually, by slowly increasing their outdoor exposure for about a week before transplanting to ensure they acclimate to their new environment. Whether you choose to transplant them right into the ground, utilize raised garden beds or plant in large deck pots, there are ample choices for gardeners to choose from. You can even cut into a large bag of soil and plant directly in the bag for a no-fuss option. Happy planting!


